|
|
|

Solar/photovoltaic panels are used to change the suns energy into usable electricity. Each
panel is made up of a number of solar cells, depending on the voltage you are wanting to get out of it. Each cell is creates a little more than .5 volts DC, no matter what the size. The only thing that changes with size is the amperage/current. If you take a .5 volt @ 3 amp solar cell and break it in half, you get two .5 volt @ 1.5 amp cells. Each cell has positive leads on the bottom and negative leads on top. Wire it up and you got a panel!
This is the second panel I've built. It's made out of 3/4" plywood instead of tape and cardboard like I've heard from others. If you just neeed something quick and dont need it to last in weather(like if it's going inside behind a window or such), then This website would better suit you construction wise. If you looking for a less expensive than buying but durable enough to last outdoors panel then keep on reading. This panel is made of 90 cells, which will end up being about 16.5 volts @ 9~Amps.
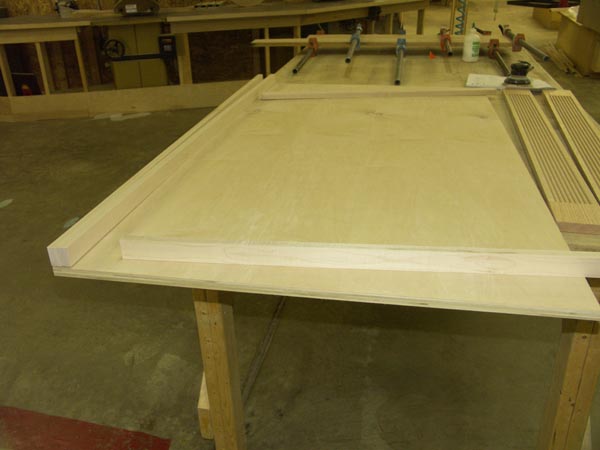
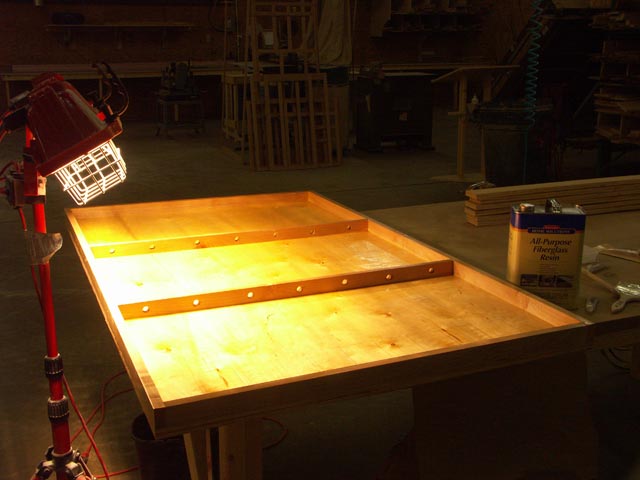
First, we start with a base for the panel. Each cell here is 3"x6" so for 90 cells, I used a 60"x35" piece of 3/4" plywood. I then cut 1 1/2 rails to go around the edge and to seperate it into 3 sections. That way the glass has more support in the middle, and if it breaks, it wont do as much damage. After I put the rails on, it's time to start sealing it up. I choose some Bondo Fiberglass Resin to coat it, because it will act like a hard plastic, and keep out moisture.
Edit: I've been informed that fiberglass resin is a polyester resin and will not hold the moisture out very well. The best thing to use, which I'm switching to is a aluminum epoxy type sealer called ALUTHANE which can be found Here.
For each section, cut a piece of 1/4inch plywood(or you can use cardboard, or foam, since it will be protected from the elements), to fit into each one. These will be holding your cells. Use a pencil and map out where the cells are going, and drill holes between each cell, where the wires will meet.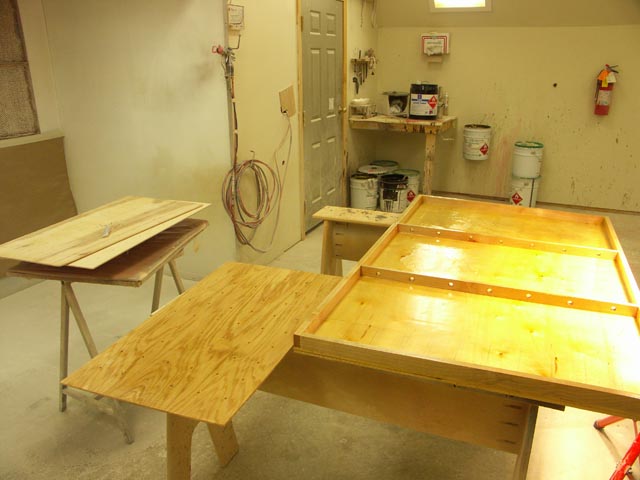
While we are waiting for everything to harden up, and apply a 2nd coat, I start the soldering. This is the long part that you need patience for. Each cell has 2 strips on the top and 6 rectangles white rectangles on the back for soldering. There are two ways of connecting the cells: You can use the tabing that most of them come with on the front, and just solder the end hanging off to the back. If you dont do that, you have to buy extra ribbon and solder a strip to the back of each cell. That way if one breaks it will be easier to go back and disconect later. Since the first way makes repairing increadibly hard, I went with the second method.
Tip: A flat tip 30 watt soldering iron and Silver Bearing solder works the best. You can get silver solder at any Radio Shack. Touch the iron to the rectangle on the back of the cell(each of 6) and feed a little solder into it. That should leave a little drop of solder connected to the cell. Do all six.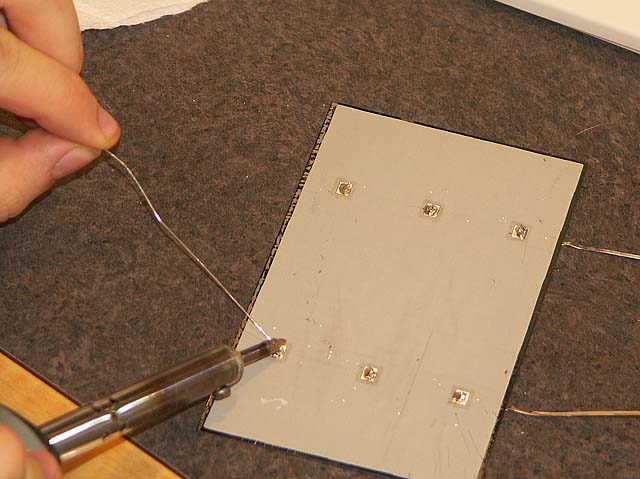
Then stick the ribbon(the mettal strips) on top of the droplets in the opposite direction as the negative(top) wires, and touch the iron on top of each one to melt the solder around the ribbon. Do this to all the cells.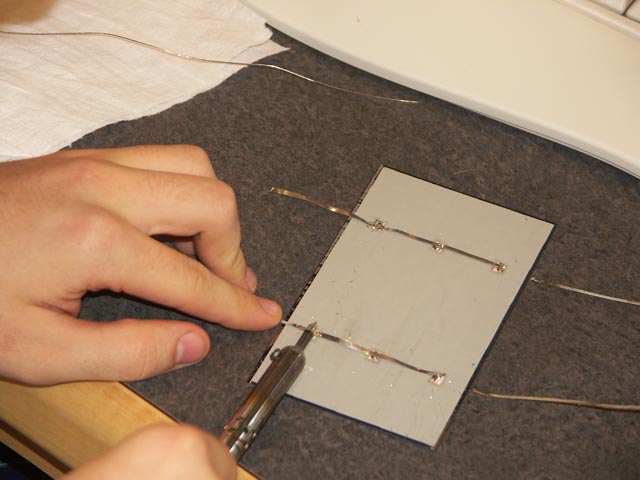
Second Page